If your brakes are starting to squeal or your car isn’t stopping as smoothly as it used to, it might be time to replace your brake pads. The good news? Learning how to replace brake pads yourself is a straightforward task that can save you a lot of money. By doing the job at home, you avoid the high labor costs of a mechanic, and you’ll feel accomplished knowing you handled it on your own.
In this detailed guide, we’ll show you exactly how to replace brake pads yourself, step by step, with pro tips and recommended tools to make the process even easier.
Tools You’ll Need to Replace Brake Pads Yourself
Before you dive into learning how to replace brake pads yourself, make sure you’ve got all the right tools on hand:
- Jack and Jack Stands: To lift and safely support your vehicle.
- Lug Wrench: To remove the wheel.
- C-Clamp or Brake Caliper Tool: To compress the brake caliper piston.
- Socket Set or Wrenches: To remove the brake caliper bolts.
- New Brake Pads: Make sure they match your vehicle’s specifications.
- Brake Cleaner: To clean the brake components.
- Anti-Squeal Brake Grease: To prevent squeaking after installation.
- Bungee Cord or Rope: To hang the caliper without straining the brake line.
- Safety Gloves and Glasses: For protection while working.
Pro Tip: Always consult your car’s owner manual or ask a parts specialist to ensure you get the right brake pads before starting.
Step 1: Preparing to Replace Brake Pads Yourself
The first step in learning how to replace brake pads yourself is setting up your workspace safely. Park your car on a flat surface and engage the parking brake. Loosen the lug nuts on the wheel using a lug wrench, but don’t fully remove them yet.
Once the lug nuts are loosened, use a jack to lift the car and place jack stands underneath for support. Now you can safely remove the lug nuts and the wheel to access the brake components.
Pro Tip: Loosen the lug nuts before jacking up the car to make it easier to remove the wheel.
Recommended Tools:
- Pro-Lift Jack and Jack Stands Set – A durable jack and stand set for safe car lifting.
- Powerbuilt Lug Wrench – Ideal for quick and easy wheel removal.
Step 2: Removing the Brake Caliper
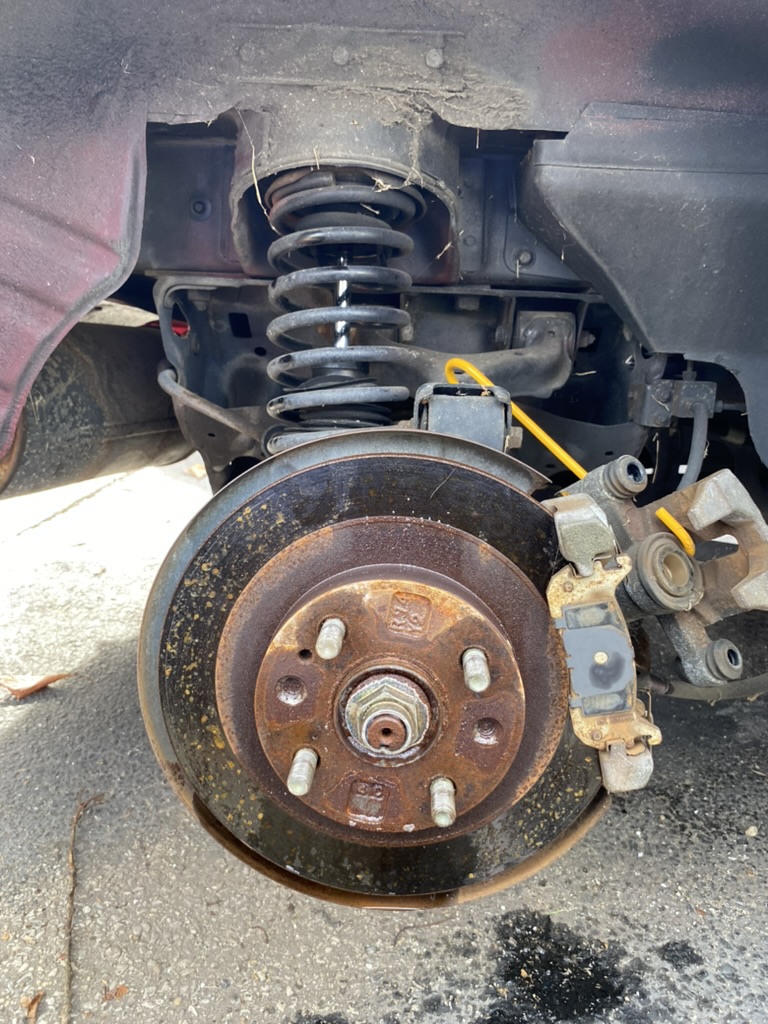
After removing the wheel, you’ll see the brake caliper holding the brake pads in place. Use a socket set or wrench to remove the bolts securing the caliper. Carefully slide the caliper off the rotor, making sure not to let it dangle by the brake line. Use a bungee cord or rope to hang it from the suspension instead.
Pro Tip: If the caliper is tough to remove, gently tap it with a rubber mallet to loosen it.
Recommended Tools:
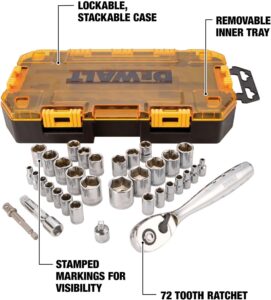
- DEWALT Socket Set – A high-quality socket set for removing caliper bolts easily.
- TEKTON Bungee Cords – Perfect for safely securing the caliper.
Step 3: Removing the Old Brake Pads
With the caliper out of the way, the old brake pads will be visible. Simply slide them out of their slots. If they’re worn down to about 1/4 inch or less, it’s definitely time to replace them. While you’re at it, check the condition of the rotor. If it’s deeply grooved, you may need to replace that in the future.
Pro Tip: Take a quick photo of the brake assembly before removing the pads to help with reinstallation later.
Step 4: Compressing the Brake Caliper Piston
To fit the new, thicker brake pads, you’ll need to compress the brake caliper piston. Use a C-clamp or brake caliper tool to gently push the piston back into its housing. This step is essential in learning how to replace brake pads yourself because it creates enough space for the new pads to fit over the rotor.
Pro Tip: Place one of the old brake pads between the C-clamp and the piston to protect it from damage while compressing.
Recommended Tools:
- IRWIN Quick-Grip C-Clamp – Great for compressing the caliper piston safely.
- ABN Brake Caliper Compression Tool – A specialized tool for precise piston compression.
Step 5: Installing the New Brake Pads
Now that the piston is compressed, you can install the new brake pads. Slide the new pads into place, just like the old ones. Don’t forget to apply a thin layer of anti-squeal brake grease to the back of each pad to reduce any noise.
Pro Tip: If your new brake pads come with shims, make sure they’re installed properly. Shims help reduce noise and extend the life of your brake pads.
Recommended Products:
- Wagner ThermoQuiet Brake Pads – Known for their superior noise reduction and excellent braking power.
- Permatex Disc Brake Quiet Grease – A great product to eliminate squeaks after installation.
Step 6: Reassemble and Test the Brakes
Once the new brake pads are in place, carefully slide the caliper back over the rotor and secure it with the bolts you removed earlier. Reattach the wheel and hand-tighten the lug nuts. Lower the car back to the ground using the jack and then fully tighten the lug nuts in a crisscross pattern to ensure even pressure.
Pro Tip: Before driving, pump the brake pedal several times to seat the new pads properly. This will also reset the caliper piston.
Recommended Tools:
- Milwaukee M12 Cordless Impact Wrench – Ideal for quick and secure lug nut tightening.
Final Step: Test Drive
After learning how to replace brake pads yourself, it’s time to test your work. Take the car for a short, easy drive and brake gently at first. Avoid hard braking for the first 100 miles or so, as this helps the new pads “bed in” properly and perform at their best.
Pro Tip: Listen for any unusual noises during the test drive. If you hear grinding or squealing, recheck the installation.
Why You Should Learn How to Replace Brake Pads Yourself
Learning how to replace brake pads yourself is not only a smart way to save money, but it also gives you greater control over your car’s maintenance. Plus, it’s a skill that comes in handy throughout your driving life. After replacing brake pads on your own once, you’ll feel confident tackling other car repairs in the future.
Now that you know how to replace brake pads yourself, there’s no need to wait until the pads are dangerously worn. Follow these steps, grab the right tools, and keep your car running safely!
For more guides on how to replace brake pads yourself and other DIY car repairs, keep following our blog for easy-to-follow tutorials and expert advice!


