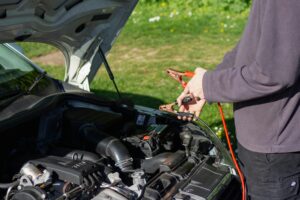
Keeping your car in top shape doesn’t always mean expensive visits to the mechanic. Many common issues can be fixed quickly and easily with a little bit of knowledge and the right tools. By learning how to handle simple car repairs at home, you can save both time and money while gaining confidence in maintaining your vehicle. Even if you’re not an experienced mechanic, there are plenty of DIY fixes you can tackle yourself, and they don’t require a lot of specialized equipment.
In this guide, we’ll walk you through 10 essential simple car repairs at home that you can handle with minimal effort. From changing your windshield wipers to fixing small dents and scratches, this comprehensive guide will help you take control of your car’s maintenance.
1. Changing Your Windshield Wipers
Replacing your windshield wipers is one of the easiest simple car repairs at home. Having clear visibility, especially during bad weather, is crucial for your safety. Thankfully, swapping out your wipers takes just a few minutes, and it’s something every driver should know how to do.
Over time, wiper blades become brittle and worn, leading to streaks across your windshield. If your wipers are leaving streaks, making noise, or struggling to clear water, it’s time to replace them.
How to Do It:
- Get the Right Wipers: Before you begin, make sure you know the size of your windshield wipers. You can find this information in your car’s manual or measure the old ones.
- Lift the Wiper Arm: Gently pull the wiper arm away from the windshield.
- Remove the Old Wiper: Press the small tab located on the underside of the wiper blade to release it.
- Install the New Wiper: Slide the new wiper blade into place until you hear it click.
- Test Your Work: Lower the wiper arm back onto the windshield and give it a quick test to ensure proper installation.
Pro Tip: Don’t wait until your wipers stop working before replacing them. It’s a good idea to swap them out every six to twelve months, especially before the rainy season or winter hits.
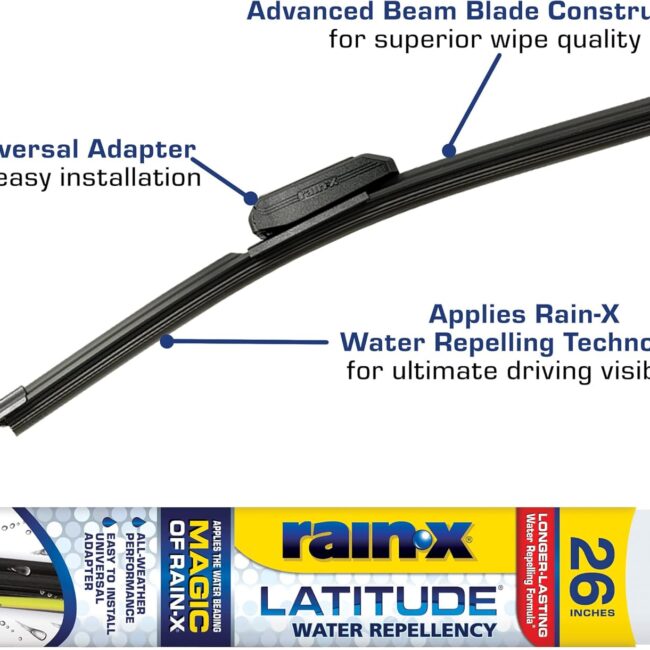
Product Recommendation: Rain-X Latitude Water Repellency Wiper Blades are highly durable and come with built-in water repellency for clearer windshields during rain.
2. Replacing Your Engine Air Filter
Replacing your car’s air filter is one of the easiest simple car repairs at home that can significantly impact your vehicle’s performance. The air filter keeps dust, debris, and other particles from entering the engine, ensuring that your engine runs smoothly and efficiently. A clogged or dirty air filter can reduce your car’s acceleration and lower your fuel efficiency, so it’s important to replace it regularly.
This is a simple task that requires no technical knowledge, and it takes about 10 minutes to complete.
How to Do It:
Open the Hood: Start by opening your car’s hood and locating the air filter housing. The air filter is typically housed in a black plastic box near the engine, with easy-to-spot clips or screws securing the cover.
Remove the Cover: Depending on your car, you may need to unscrew or unclip the cover of the air filter box. Once the cover is removed, you’ll see the old air filter sitting inside.
Take Out the Old Filter: Gently pull the old air filter out of the housing. Make sure you note how it was positioned before removing it to ensure you install the new one properly.
Install the New Filter: Place the new air filter into the housing. Make sure it’s seated properly and in the correct orientation.
Re-secure the Cover: Once the new filter is in place, reattach the cover by securing the clips or screws.
Pro Tip: If you often drive in dusty conditions or on gravel roads, check and replace your air filter every 10,000 to 12,000 miles. For most drivers, replacing the air filter every 12,000 to 15,000 miles is sufficient.
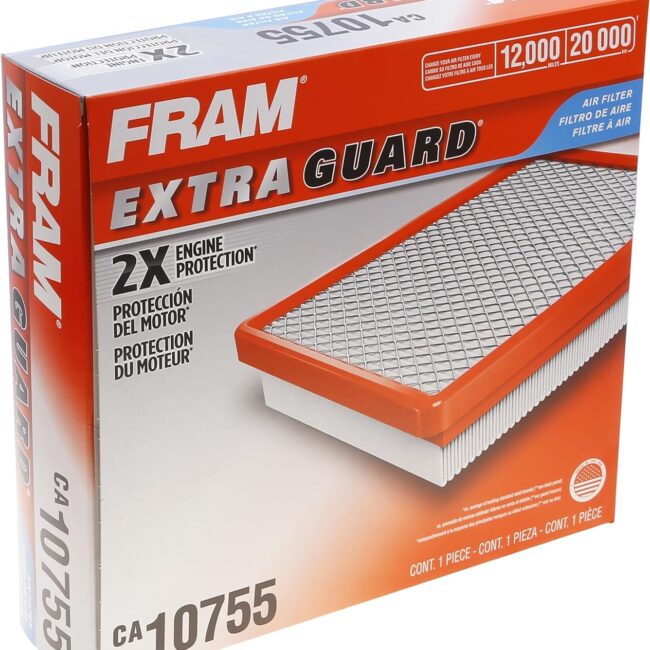
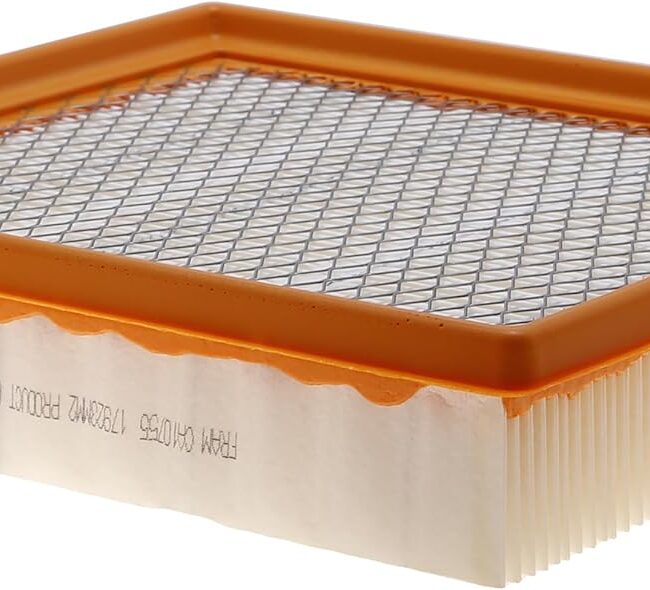
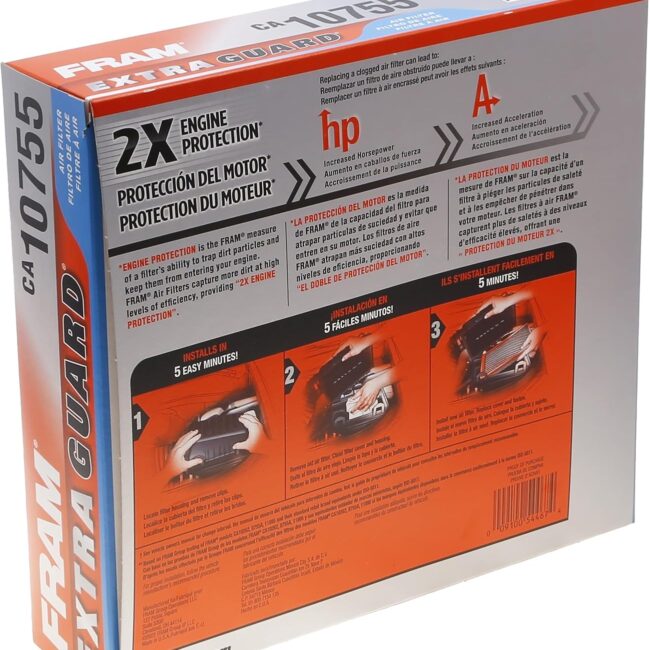
Product Recommendation: The FRAM Extra Guard Air Filter offers excellent filtration and helps improve engine performance while being affordable and easy to install.
3. Jump-Starting a Dead Battery
A dead battery is one of the most common reasons drivers get stranded, but it’s a simple car repair at home if you have jumper cables or a portable jump starter. Whether your battery has drained because you left the lights on or it’s just reached the end of its life, knowing how to jump-start your car is a must-have skill for every driver.
Jump-starting your car can be done in just a few steps. All you need are jumper cables and a second car with a working battery—or even better, a portable jump starter, which means you won’t need help from anyone else.
How to Do It:
Position the Cars: If you’re using another car, park the two vehicles close enough so the jumper cables can reach both batteries. Make sure the cars are in park with the engines off.
Attach the Red Clamp: Take one red (positive) clamp and attach it to the positive terminal on the dead battery. Attach the other end of the red clamp to the positive terminal on the good battery.
Attach the Black Clamp: Now take the black (negative) clamp and attach it to the negative terminal of the good battery. Attach the other end of the black clamp to an unpainted metal surface on the car with the dead battery (not the battery itself).
Start the Working Car: Start the car with the good battery and let it run for a minute or two. Then try starting the car with the dead battery.
Remove the Cables: Once the dead car starts, remove the jumper cables in reverse order—black clamp from the dead car, black clamp from the good car, red clamp from the dead car, and finally red clamp from the good car.
Pro Tip: Always keep a set of jumper cables or a portable jump starter in your car. Batteries tend to fail more often in cold weather, so it’s a good idea to check your battery health before winter arrives.
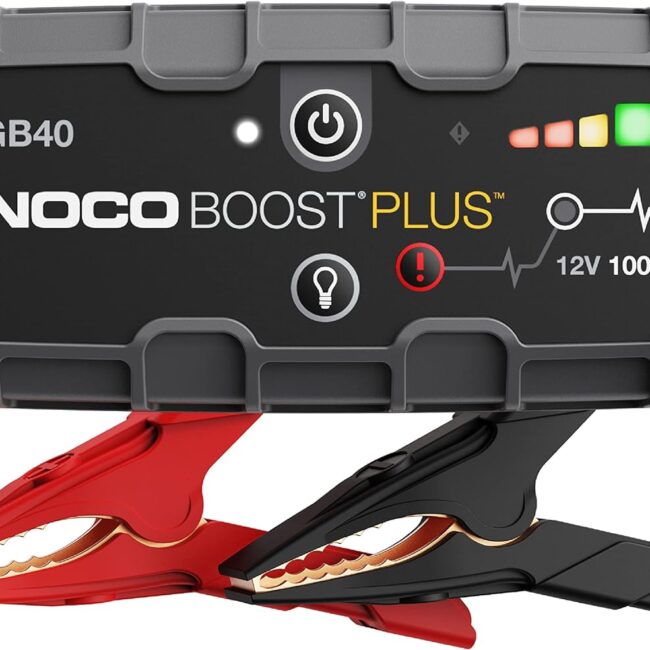
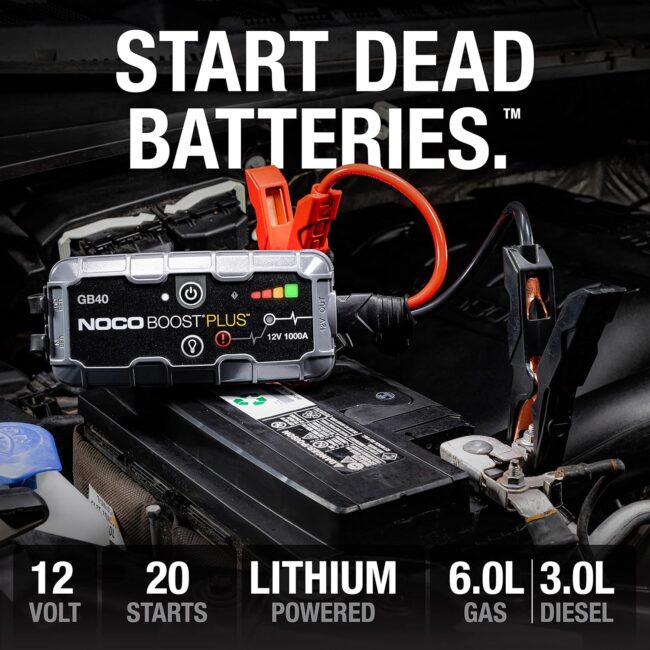
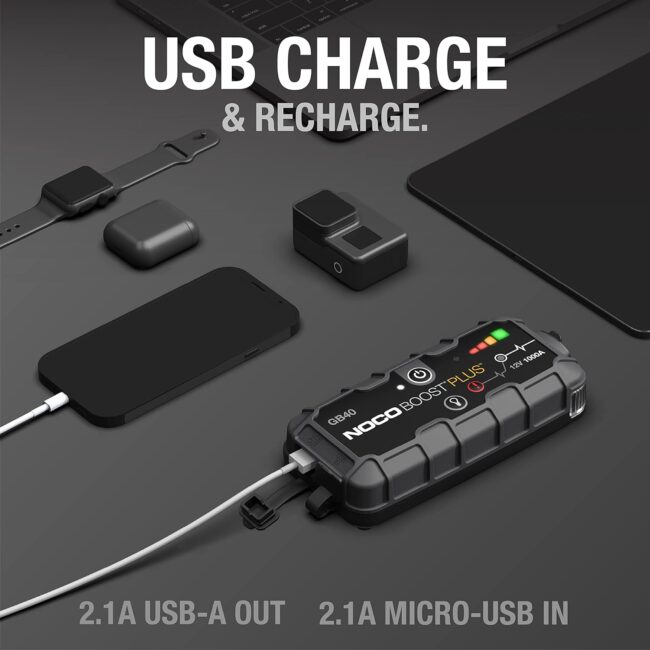
Product Recommendation: The NOCO Boost Plus GB40 Portable Jump Starter is compact, reliable, and powerful enough to jump-start most cars without needing a second vehicle.
4. Changing a Flat Tire
Getting a flat tire is something every driver faces at some point. While it’s never a fun experience, changing a flat tire is one of the essential simple car repairs at home that every driver should know how to do. With a little practice, you can change a tire in less than 20 minutes, and it’s much quicker than waiting for roadside assistance.
How to Do It:
Find a Safe Location: If you get a flat tire while driving, pull over to a safe location. Make sure your car is parked on a flat, stable surface and turn on your hazard lights.
Loosen the Lug Nuts: Before lifting the car, use a lug wrench to loosen the lug nuts on the flat tire. Don’t remove them entirely yet—just loosen them enough so they’re easy to unscrew later.
Lift the Car: Place your car’s jack under the designated jack point (check your manual for the exact location). Lift the car until the flat tire is off the ground.
Remove the Lug Nuts and Tire: Now fully remove the lug nuts and pull the flat tire off the car.
Mount the Spare Tire: Align the spare tire with the wheel studs and push it onto the hub. Hand-tighten the lug nuts to secure the tire.
Lower the Car: Slowly lower the car back down to the ground and remove the jack. Once the car is on the ground, use the lug wrench to fully tighten the lug nuts in a star pattern to ensure even pressure.
Pro Tip: Check your spare tire’s air pressure regularly so it’s ready to use when you need it. Driving with an underinflated spare tire can be dangerous.
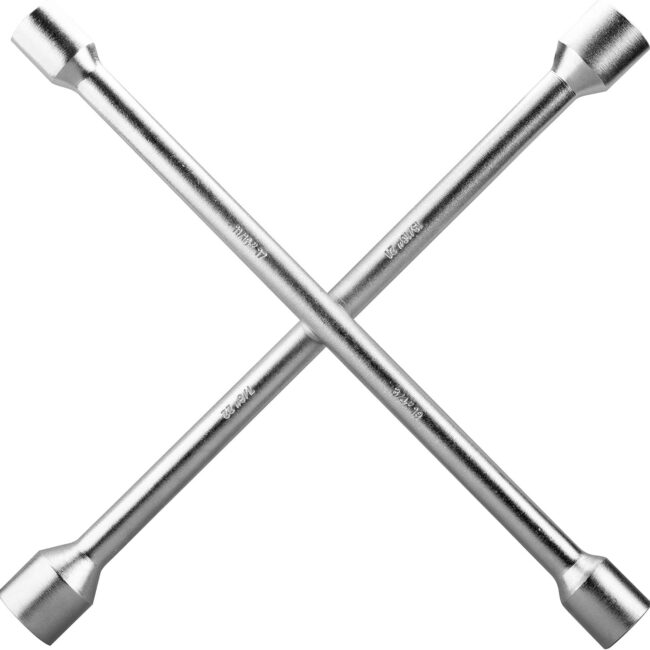
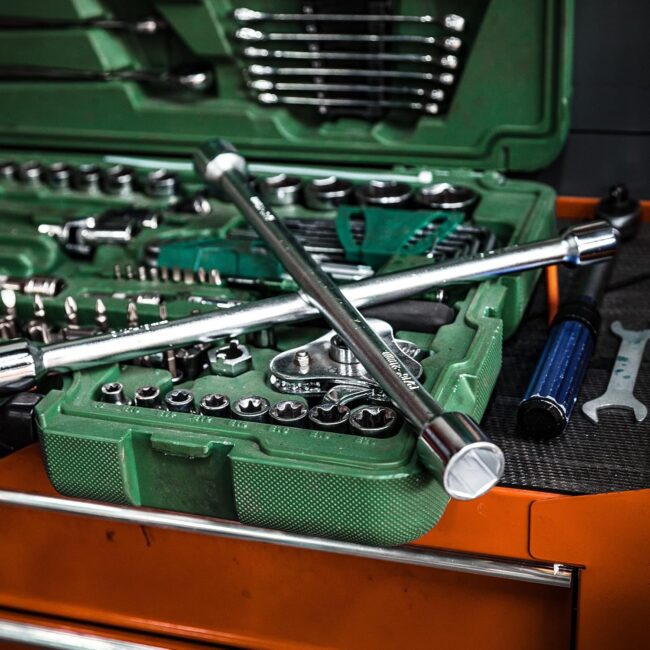
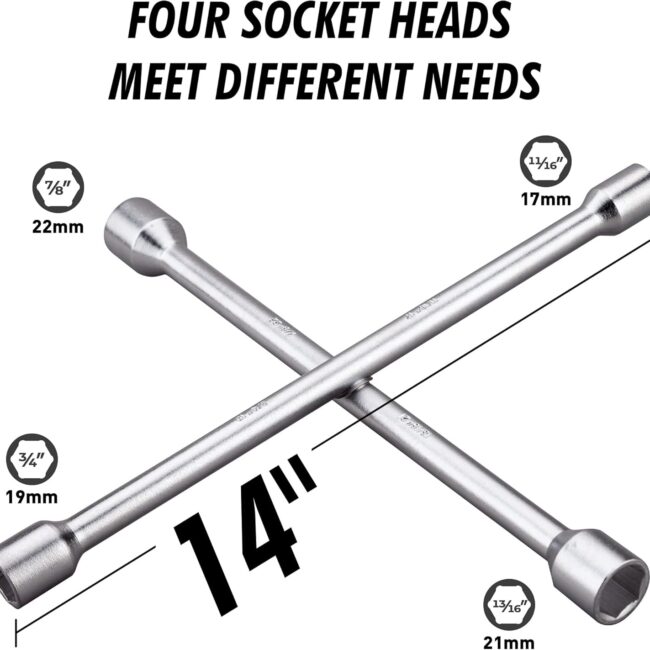
Product Recommendation: The CARTMAN 14 Inch Universal Heavy Duty Lug Wrench 4 Way Tire Iron is a sturdy tool that makes loosening and tightening lug nuts a breeze. It’s an essential tool for any DIY car repair kit.
5. Replacing Headlight Bulbs
Driving with a burnt-out headlight is both dangerous and illegal. Luckily, replacing a headlight bulb is another one of the simple car repairs at home that you can do in just a few minutes. Headlights typically burn out after several years, but the replacement process is straightforward.
How to Do It:
Locate the Bulb: Pop the hood and locate the back of the headlight assembly. You’ll typically see a wiring harness connected to the bulb.
Remove the Old Bulb: Disconnect the wiring harness and twist the old bulb out of the headlight assembly.
Install the New Bulb: Carefully insert the new bulb into the assembly, making sure not to touch the glass with your bare hands (oil from your skin can reduce the lifespan of the bulb). Plug the wiring harness back in.
Test the Headlight: Once the new bulb is installed, turn on your headlights to make sure everything is working properly.
Pro Tip: Consider upgrading to LED or high-performance halogen bulbs for better visibility at night.
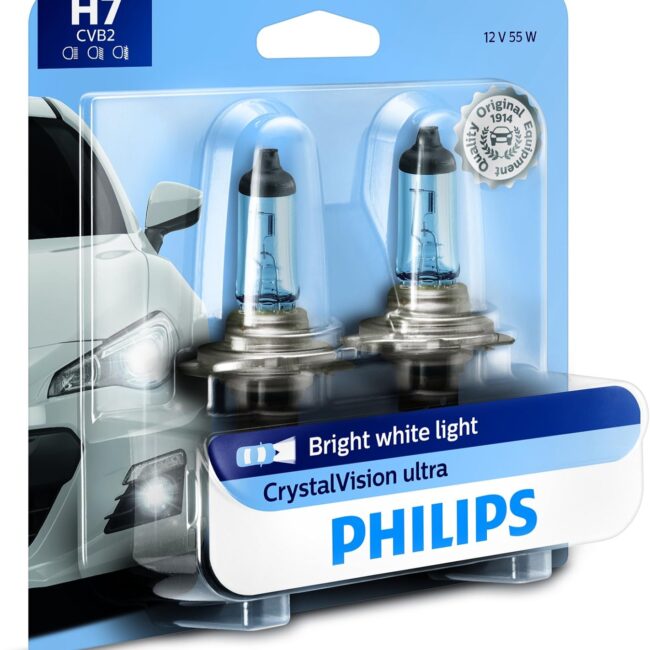
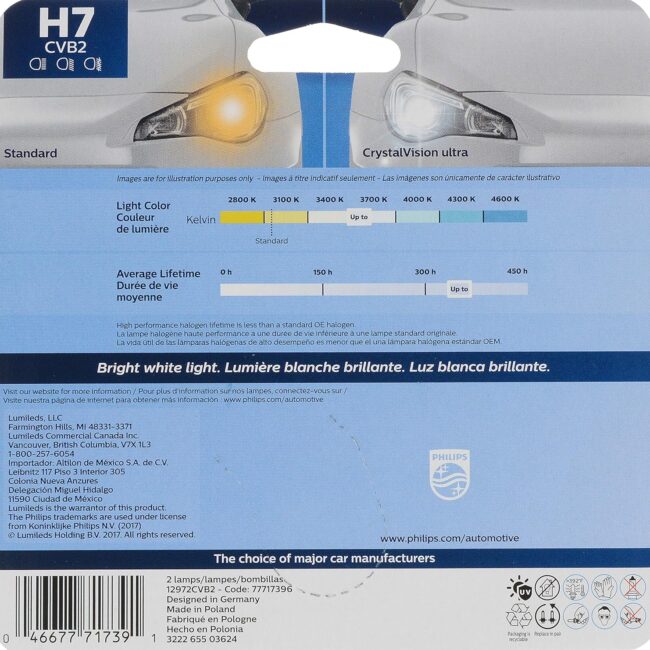
Product Recommendation: Philips CrystalVision Ultra Headlight Bulbs provide bright, white light and are easy to install.
6. Changing Your Oil
Learning to change your oil is one of the most important simple car repairs at home. Regular oil changes ensure that your engine stays lubricated and runs smoothly, preventing wear and tear. While many people choose to have their oil changed at a service station, doing it yourself is surprisingly easy and can save you a significant amount of money in the long run.
How to Do It:
Gather Supplies: You’ll need fresh oil, an oil filter, a socket wrench, an oil filter wrench, a funnel, and an oil drain pan.
Lift the Car: Use a jack to lift your car and place it securely on jack stands. Make sure the car is on a level surface and won’t roll while you’re working under it.
Drain the Old Oil: Locate the oil drain plug, typically found under the engine. Place the oil pan beneath it and use a wrench to remove the drain plug, allowing the oil to drain completely.
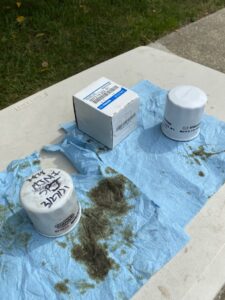
Remove the Oil Filter: Once the oil has drained, use the oil filter wrench to remove the old oil filter. Be careful, as some oil may still be trapped inside.
Install the New Oil Filter: Before installing the new filter, lubricate the rubber seal with a bit of fresh oil to ensure a proper seal. Screw the filter in by hand, tightening it snugly but not too tight.
Refill with Oil: Replace the drain plug and use a funnel to pour the new oil into the engine. Check your car’s manual to see how much oil you need and what type to use.
Check the Oil Level: After adding oil, start the engine and let it run for a few minutes, then turn it off and check the oil level with the dipstick. Add more oil if necessary to reach the correct level.
Pro Tip: Always use the right type of oil for your specific vehicle. The wrong type can lead to poor performance and potentially damage your engine.
Product Recommendation: Mobil 1 Extended Performance Full Synthetic Oil is an excellent choice for long-lasting protection and enhanced engine performance.
7. Fixing Small Dents and Scratches
Nothing ruins the appearance of a car faster than dents and scratches. Fortunately, minor cosmetic damage is a simple car repair at home that you can handle without visiting an expensive body shop. Fixing small dents and scratches can be easier than you think with the right tools and techniques.
How to Do It:
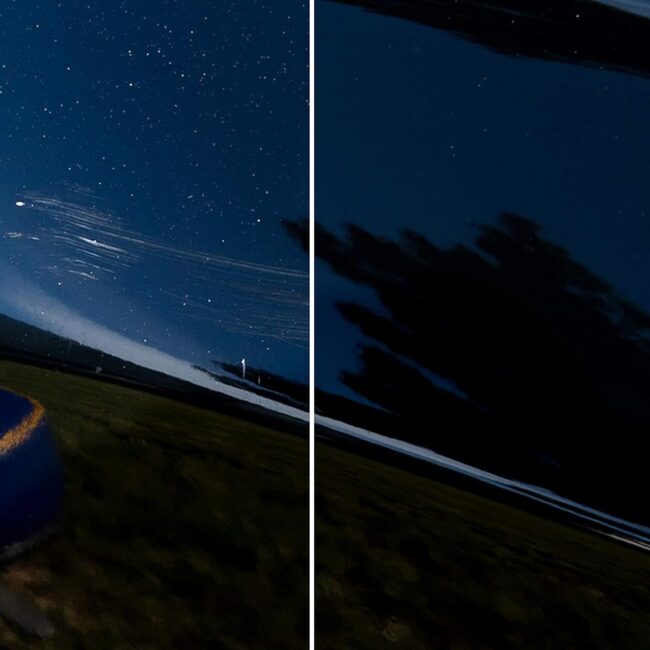
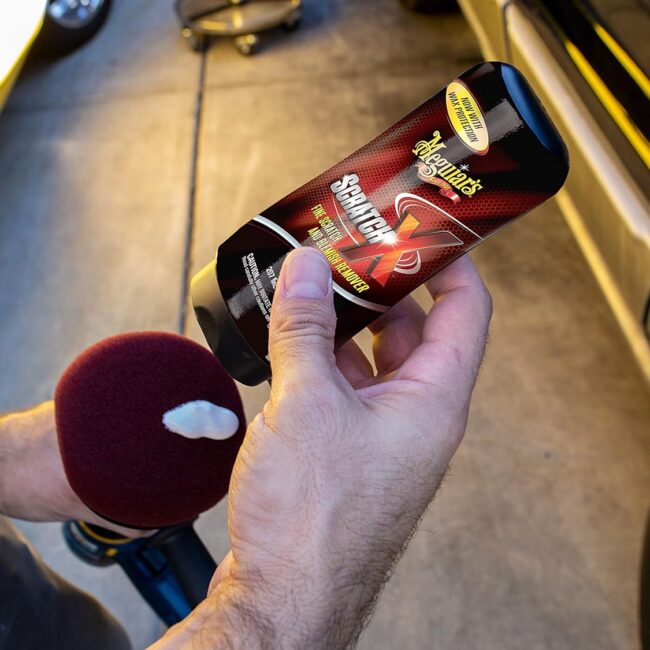
For Scratches: First, clean the area thoroughly to remove any dirt or debris. Apply a small amount of scratch remover or compound to the scratched area using a clean, soft cloth. Buff the compound in a circular motion until the scratch begins to fade. Wipe the area with a clean cloth to remove excess product.
For Dents: For small dents, you can often use a plunger to pop the dent out. Simply wet the plunger and press it firmly against the dent, then pull it away. This creates suction and can help restore the panel’s shape.
For More Severe Dents: You may want to invest in a specialized dent removal kit, which usually includes a suction cup or glue-based pulling system. These tools allow you to pull the dent out without damaging the paint.
Pro Tip: After removing a dent or scratch, apply a coat of wax to protect the area and keep your car looking shiny.
Product Recommendation: Meguiar’s ScratchX 2.0 is a top-rated product for removing light scratches and restoring your car’s paint finish.
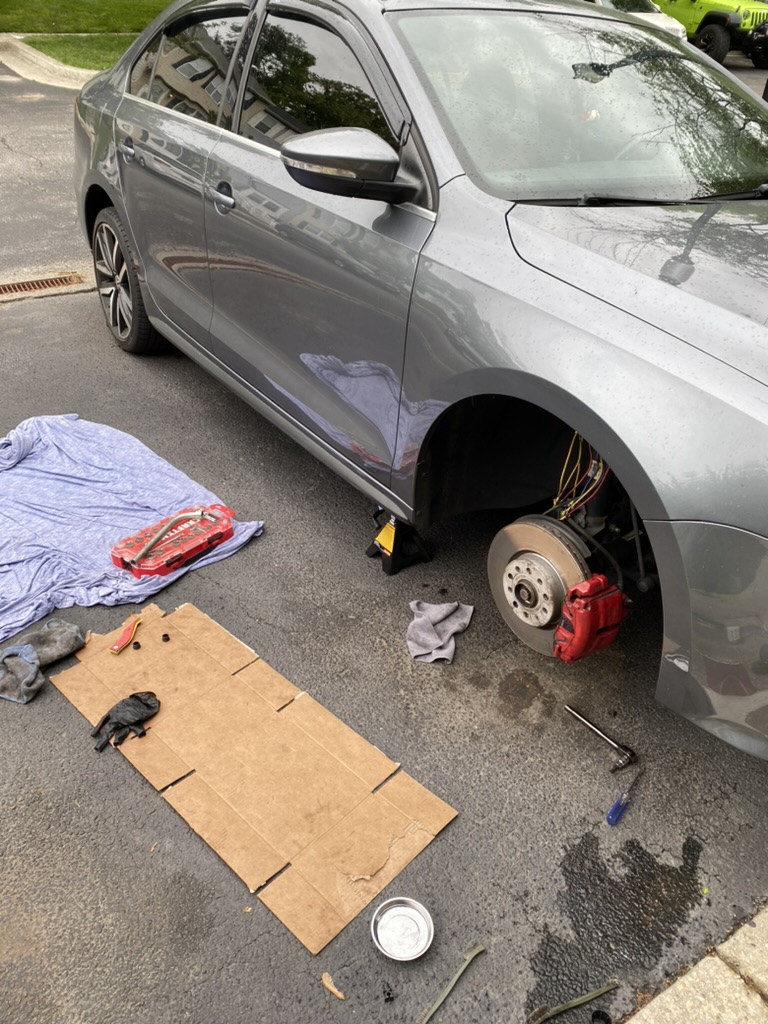
8. Replacing Brake Pads
While brake pad replacement might sound intimidating, it’s actually one of the more straightforward simple car repairs at home. Replacing your brake pads when they’re worn is essential for maintaining safe stopping power and preventing damage to your brake rotors.
How to Do It:
Lift the Car: Start by loosening the lug nuts on the wheel where you’re replacing the brake pads. Use a jack to lift the car and secure it with jack stands.
Remove the Wheel: Once the car is safely lifted, remove the lug nuts completely and take off the wheel to expose the brake assembly.
Remove the Brake Caliper: The brake caliper holds the brake pads in place. Use a socket wrench to remove the bolts that secure the caliper. Once the bolts are removed, gently slide the caliper off the brake rotor.
Remove the Old Brake Pads: Slide the old brake pads out of the caliper bracket. They should come out easily, though you may need to wiggle them a bit if they’re tight.
Install the New Brake Pads: Insert the new brake pads into the caliper bracket. Make sure they’re properly aligned and sit flush against the brake rotor.
Reinstall the Caliper: Once the new brake pads are in place, reattach the caliper by tightening the bolts you removed earlier. Make sure everything is secure before putting the wheel back on.
Lower the Car: Reattach the wheel and lower the car back to the ground. Finally, tighten the lug nuts securely.
Pro Tip: Always replace brake pads in pairs (both front or both rear) to ensure even braking and avoid uneven wear on your tires.
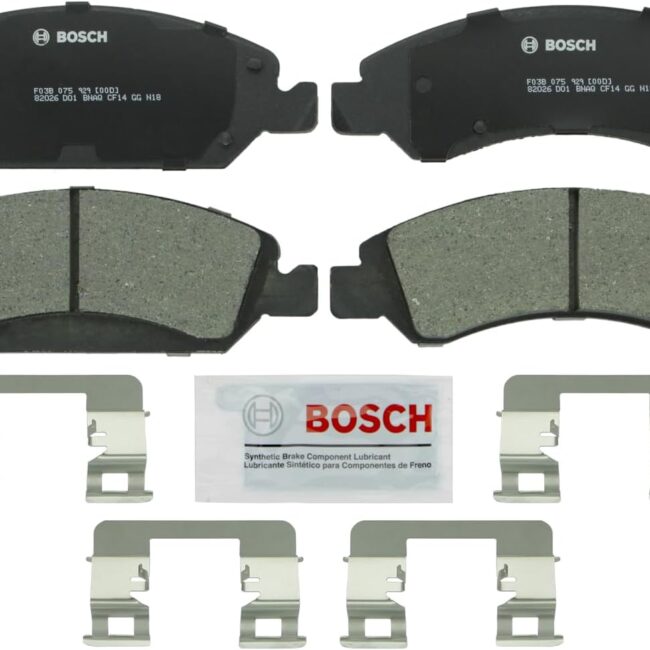
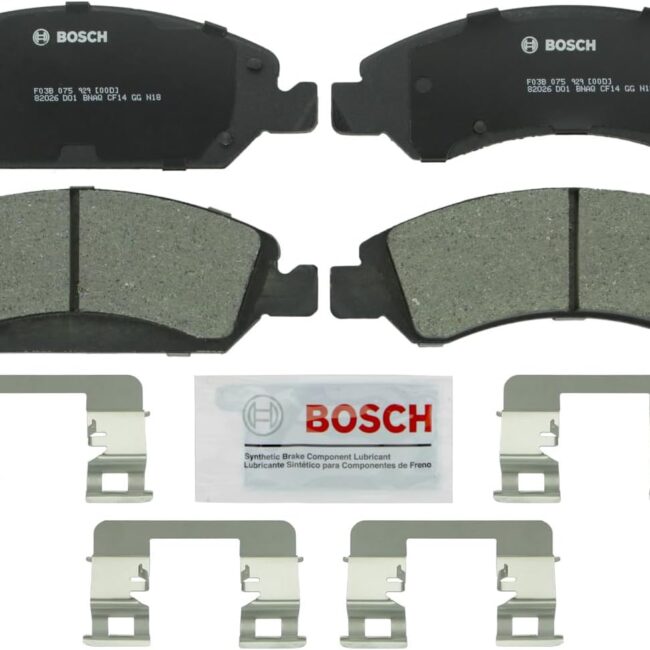
Product Recommendation: Bosch QuietCast Premium Disc Brake Pads provide excellent stopping power and durability, making them a great choice for DIY brake pad replacements.
9. Replacing Fuses
Sometimes, electrical problems in your car can be traced back to something as simple as a blown fuse. Fuses control various electrical components, such as your lights, radio, and power windows. If one of these stops working, a blown fuse is often the culprit, and replacing it is a simple car repair at home.
How to Do It:
Locate the Fuse Box: Your car has one or more fuse boxes, usually located under the dashboard or in the engine compartment. Check your car’s manual to find the exact location.
Identify the Blown Fuse: Use the diagram on the fuse box cover or in the manual to locate the fuse that controls the malfunctioning component. A blown fuse will typically have a broken wire visible inside it.
Remove the Blown Fuse: Use a fuse puller or a pair of needle-nose pliers to gently pull the blown fuse out of the socket.
Install the New Fuse: Replace the blown fuse with a new one of the same amperage rating. Be sure to double-check the amperage, as using the wrong fuse can cause electrical issues.
Test the Component: Once the new fuse is in place, test the electrical component to ensure it’s working again.
Pro Tip: Keep spare fuses in your glove box so you can quickly replace a blown fuse on the go without waiting for a mechanic.
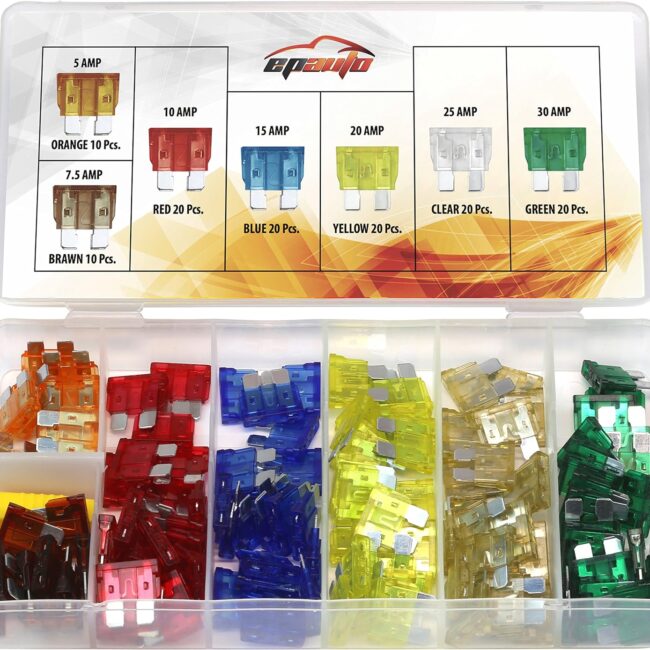
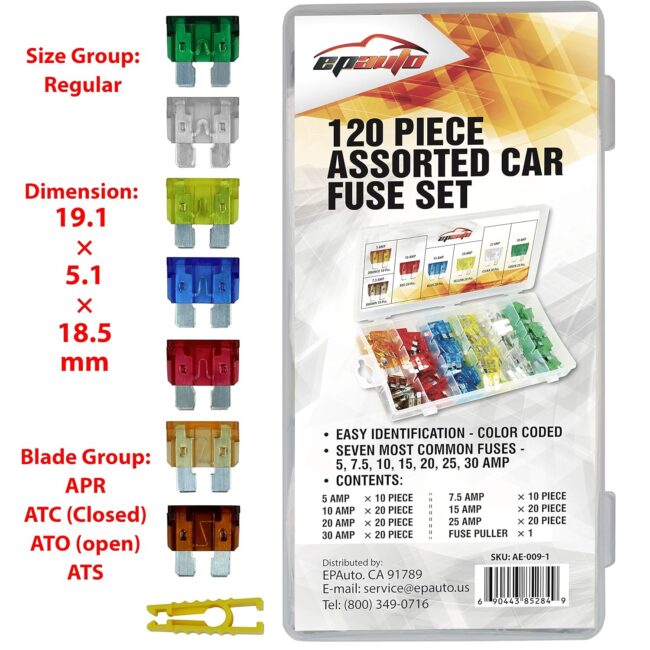
Product Recommendation: The EPAuto Automotive Replacement Fuse Kit includes a variety of fuse types and amperages, making it a must-have for quick fixes.
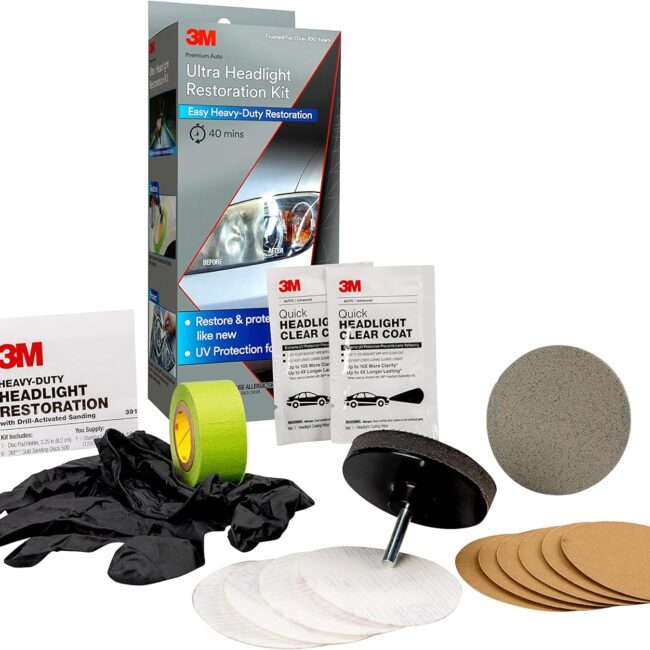
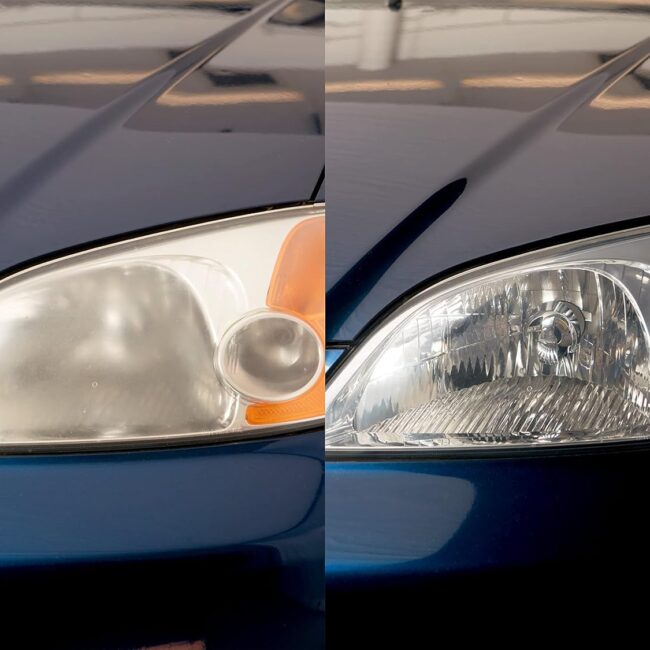
10. Polishing Cloudy Headlights
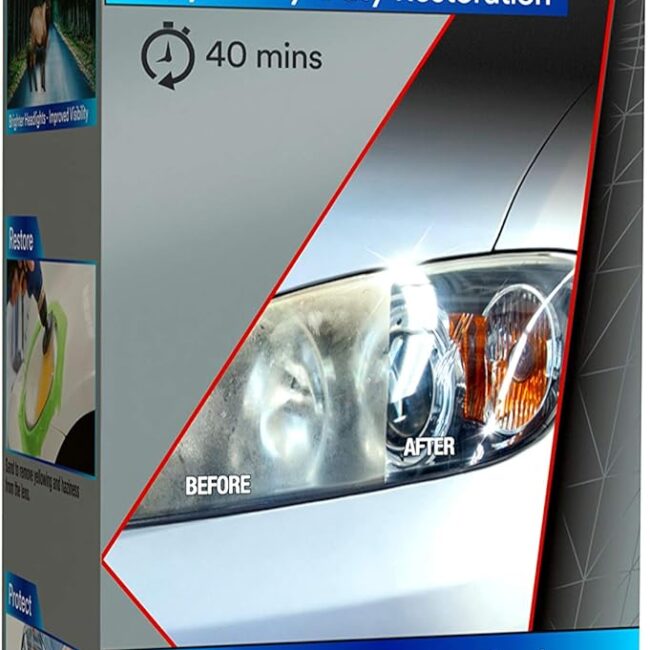
Over time, headlights can become cloudy or yellowed due to exposure to sunlight and the elements. Cloudy headlights not only make your car look older, but they also reduce visibility at night. Fortunately, restoring your headlights is a simple car repair at home that requires minimal effort but provides a big improvement in both appearance and safety.
How to Do It:
Clean the Headlights: Start by washing your headlights with soap and water to remove any surface dirt and grime.
Apply Headlight Restoration Compound: Use a headlight restoration kit that includes a polishing compound specifically designed for removing oxidation. Apply the compound to the headlights using a clean cloth or buffer.
Buff the Headlights: Gently buff the headlights in circular motions until the cloudiness begins to disappear. Be patient—this process may take a few minutes depending on how cloudy your headlights are.
Rinse and Seal: Once the headlights are clear, rinse them off and apply a UV sealant to prevent them from becoming cloudy again.
Pro Tip: After restoring your headlights, make it a habit to wash and wax them regularly to keep them looking new and to protect them from future damage.
Product Recommendation: The 3M Headlight Restoration Kit is easy to use and provides long-lasting clarity, making it a great choice for restoring cloudy headlights at home.
Conclusion
As you can see, there are plenty of simple car repairs at home that can save you time and money. Whether you’re changing your oil, fixing a flat tire, or replacing a burnt-out headlight, these DIY fixes are manageable for anyone willing to put in a little time. By taking care of these simple car repairs at home, you can keep your vehicle running smoothly without always relying on a mechanic.
Not only will these simple car repairs at home give you more confidence in car maintenance, but they’ll also help you avoid costly service fees for minor issues. So the next time something needs fixing, grab your tools and give it a shot—you’ve got this!

